

![]()

Key Features
- Built with Rust for optimal performance and safety, powered by tokio and hyper
- Supports TCP, UDP, TLS, HTTP1, and HTTP2, including HTTP upgrading and WebSocket functionality
- Partial HTTP/3 support (incoming QUIC connections only; WebTransport not supported)
- Easily deployable single binary with a built-in WebUI
- Allows live configuration updates via a REST API without restarting the service
- Imports TLS certificates from the GUI or can generate a self-signed certificate
- Provides Let's Encrypt support (ACME v2, HTTP challenge only) for seamless certificate provisioning
Installation
There are multiple ways to install Taxy.
Docker
Run the following command to start Taxy using Docker:
docker run -d \
  -v taxy-config:/root/.config/taxy \
  -p 80:80 \
  -p 443:443 \
  -p 127.0.0.1:46492:46492 \
  --restart unless-stopped \
  --name taxy \
  ghcr.io/picohz/taxy:latest
To log in to the admin panel, you'll first need to create a user. Follow the steps below to create an admin user:
docker exec -t -i taxy taxy add-user admin
password?: ******
Docker Compose
Create a file named docker-compose.yml with the following content:
version: "3"
services:
  taxy:
    image: ghcr.io/picohz/taxy:latest
    container_name: taxy
    volumes:
      - taxy-config:/root/.config/taxy
    ports:
      # Add ports here if you want to expose them to the host
      - 80:80
      - 443:443
      - 127.0.0.1:46492:46492 # Admin panel
    restart: unless-stopped

volumes:
  taxy-config:
Run the following command to start Taxy:
$ docker-compose up -d
To log in to the admin panel, you'll first need to create a user. Follow the steps below to create an admin user:
$ docker-compose exec taxy taxy add-user admin
password?: ******
Then, you can access the admin panel at http://localhost:46492/.
Cargo binstall
cargo-binstall automatically downloads and installs pre-built binaries for your platform. If there is no pre-built binary available, it will fall back to cargo install.
You need to install cargo-binstall first.
Then you can install Taxy with:
$ cargo binstall taxy
Cargo install
You need to have the Rust toolchain installed. If you don't, please follow the instructions on rustup.rs.
The package on crates.io comes bundled with the WebUI as a static asset. Thus, you don't need to build it yourself (which would require trunk and wasm toolchain).
$ cargo install taxy
Github Releases
Alternatively, you can directly download the latest pre-built binaries from the releases page.
You simply put the extracted binary somewhere in your $PATH and you're good to go.
Development
Please refer to the Development section for details.
First setup
First, you need to create a user to access the admin panel. You will be prompted for a password.
# Create a user
$ taxy add-user admin
$ password?: ******
If you want to use TOTP for two-factor authentication, you can enable it with the --totp flag.
# Create a user with TOTP enabled
$ taxy add-user admin --totp
$ password?: ******

Use this code to setup your TOTP client:
EXAMPLECODEEXAMPLECODE
Then, you can start the server.
$ taxy start
Once the server is running, you can access the admin panel at http://localhost:46492/.
To ensure the security of your server's admin panel, it is highly recommended to employ SSH port forwarding when running the server on a remote machine. This practice prevents exposing the admin panel's port to the public, as the connection is in plain HTTP and lacks encryption. However, you have the option to serve the admin panel via HTTPS using Taxy later on.
Tutorial
In this tutorial, we will create a proxy for the admin panel itself.
1. Log in
Log in to the admin panel with the user you created earlier.
2. Bind a port
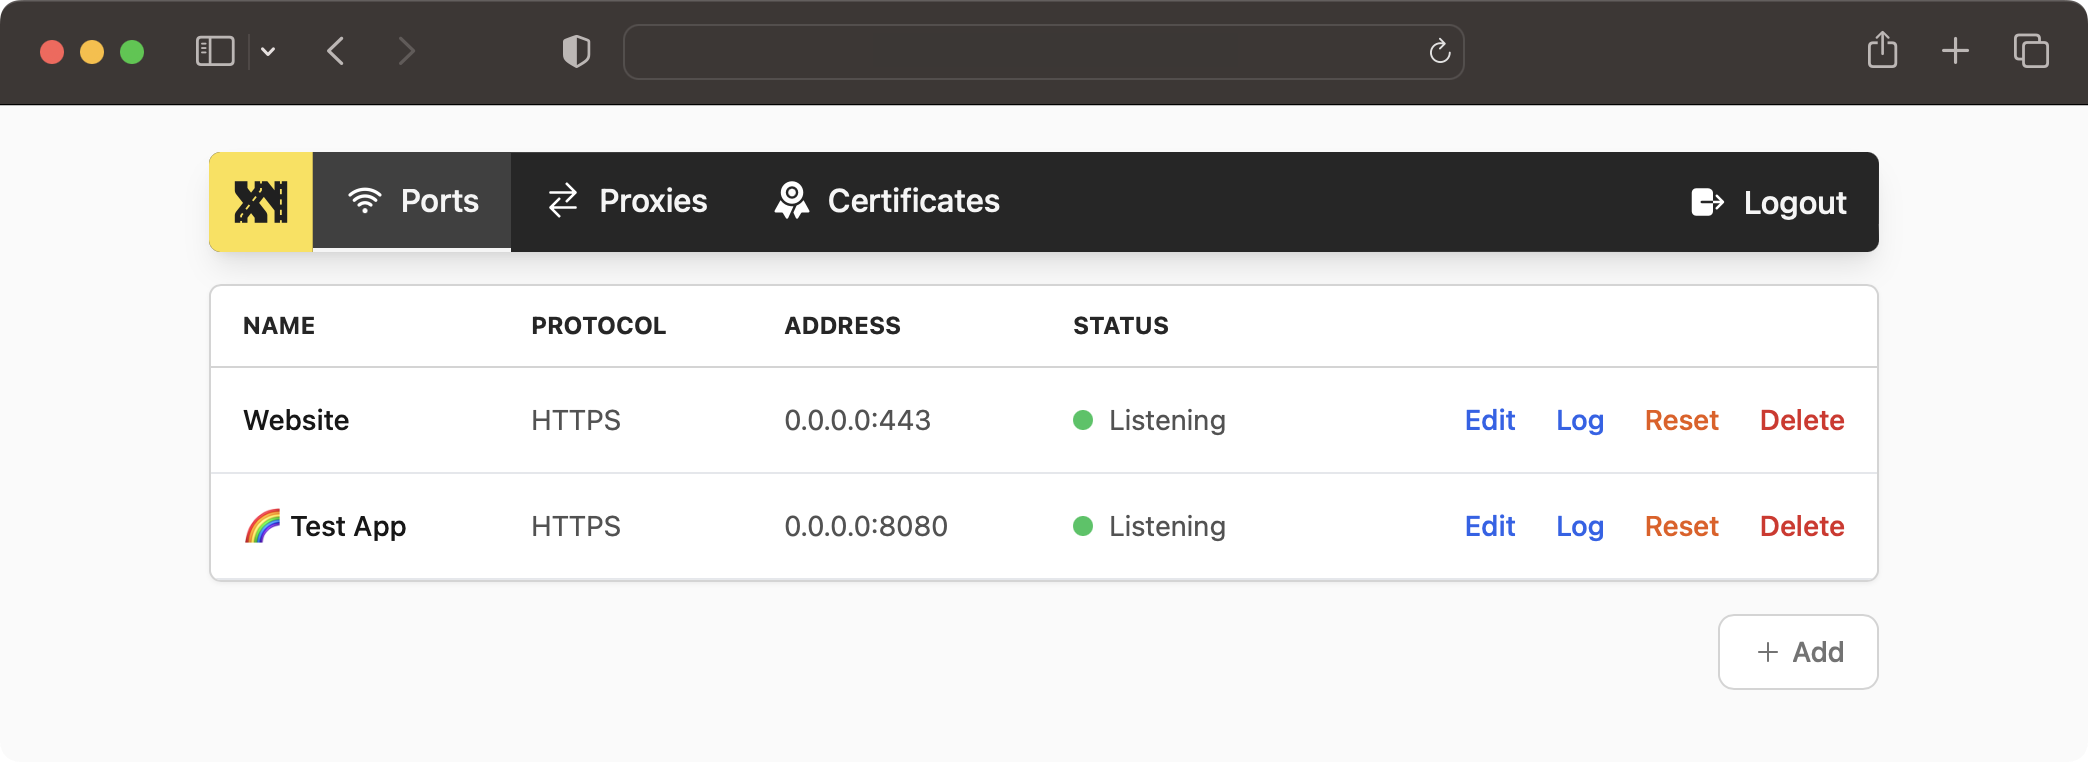
Before you can create a proxy, you need to bind a port to listen on. You can do this in the "Ports" section.
- Click on "Ports" in the menu.
- Click on "Add"
- Name the port (e.g. "My Website"), you can leave this empty.
- Select the network interface to listen on.
- Select the port to listen on. Make sure it is not already in use and that you have the necessary permissions to bind to it.
- Select the protocol to listen on. In this example, we will use "HTTP".
- Click on "Create".
- Make sure the created port appears in the list and the status is "Listening".
3. Create a proxy
Now you can create a proxy in the "Proxies" section. You need to specify the port you bound earlier and the target URL.
- Click on "Proxies" in the menu.
- Click on "Add".
- Name the proxy (e.g. "My Website"), you can leave this empty.
- Select the protocol to use. In this example, we will use "HTTP / HTTPS".
- Select the port you bound earlier. You can choose multiple ports if you want to.
- Left the "Virtual Host" field empty to match all hosts.
- Enter the target URL. In this example, we will use the admin panel "http://localhost:46492". Put the URL in the "Target" field.
- Click on "Create".
- Make sure the created port appears in the list. The proxy is now active and you can access the admin panel via the proxy.
If you want to expose the proxy to the public, you may need to configure the firewall.